Deep Cleaning Terracotta Tiles in Bognor Regis
I was contacted just before Christmas by a couple who had bought a house in the southern resort of Bognor Regis that they hoped to spend the festive season in; apart from a new coat of paint and carpet their main concern was the state of the Terracotta tiled floor in the hall, kitchen and dining room. On my initial site inspection it was clear that there were years of grime build up caused by the previous owner’s dogs coming into the house onto a poorly sealed floor. After assuring the client that I was confident that the floor could be bought back to life a price was agreed and a date fixed. I estimated it would take two days to carry out the work with a gap of two days in between to allow the floor to fully dry out.
 |
 |
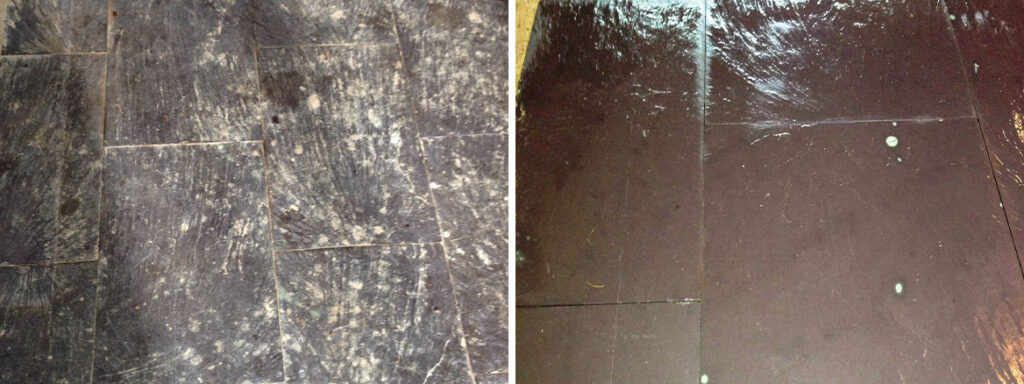
Deep Cleaning Terracotta Tiles
On the first day I prepared a warm water dilution of Tile Doctor Pro-Clean and worked this into the tile surface and grout using a hand brush and then the buffing machine fitted with a black scrubbing pad. This lifted all the residual dirt, grime and remaining sealer if any. After vacuuming up the dirty solution using a wet Vac the floor was then rinsed several times with clean water to make sure that there was no cleaner or dirt left in or around the tiles.
There were a few stubborn areas where it was necessary to repeat the process and then the whole floor was given a final rinse using the wet vacuum and sponge to get the surface as dry as possible before being left to dry for two days. The tiles were covered with dust sheets in any area that was required for access in order to keep them clean whilst drying out.
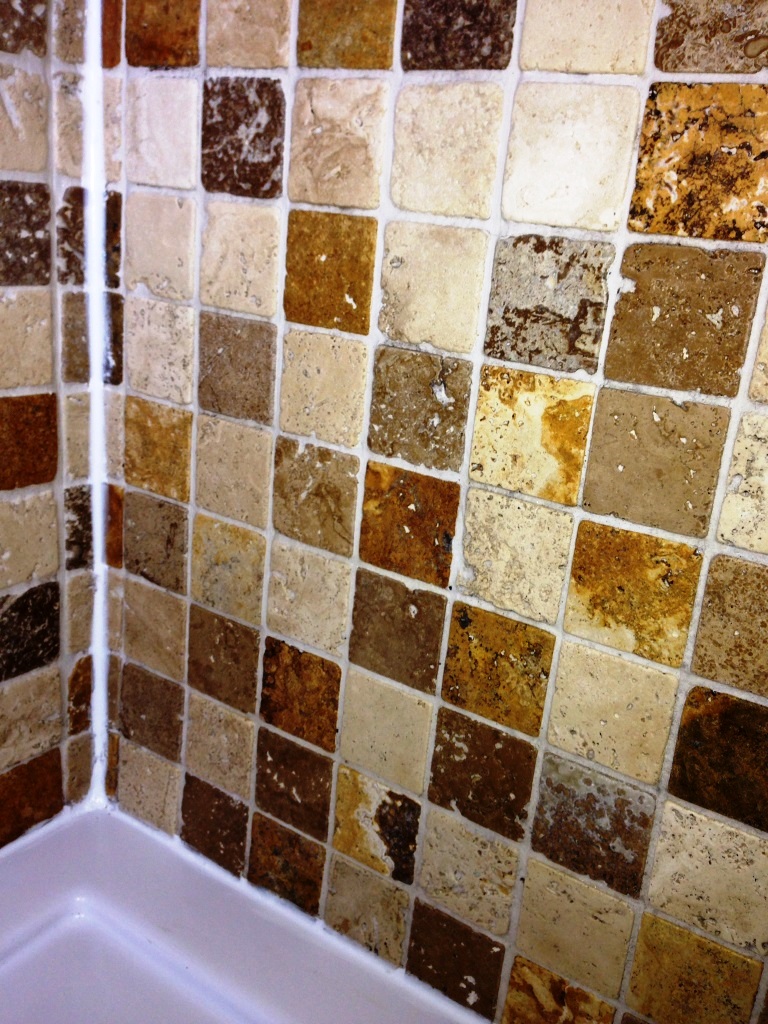
Sealing Terracotta Tiles
After allowing the floor to dry out I returned to the property and using my moisture meter tested the floor in several areas to make sure that it was ready to be sealed (I had previously warned the clients that if it wasn’t then further time would have to be given). Satisfied that all was well I set about sealing it, first with a coat of Tile Doctor Colour Grow which was allowed to cure and then followed by five coats of Tile Doctor Seal and Go. Colour Grow is an impregnating sealer that seeps into the pores of the stone protecting it from the inside and as a bonus enhances colour whilst Seal and Go is a topical sealer that protects the surface and also adds a nice sheen to the tile. The end result was everything that I imagined it would be and the clients were very pleased with it also saying that they never thought it would ever look as good as it did. As I said to them ‘I’m no magician but I am a (Tile) Doctor!!
 |
 |
Terracotta tiled floor deep cleaned and sealed in West Sussex
Deep Cleaning Terracotta Tiles in Bognor Regis Read More »